Bluetooth 4.2 Wireless Audio Receiver Module
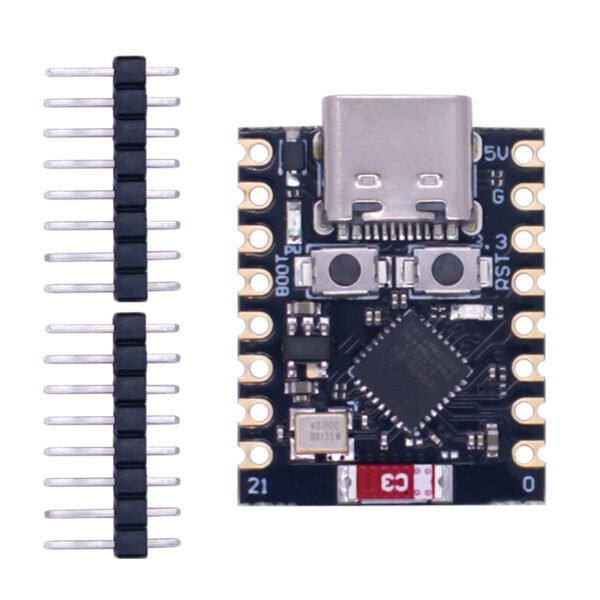
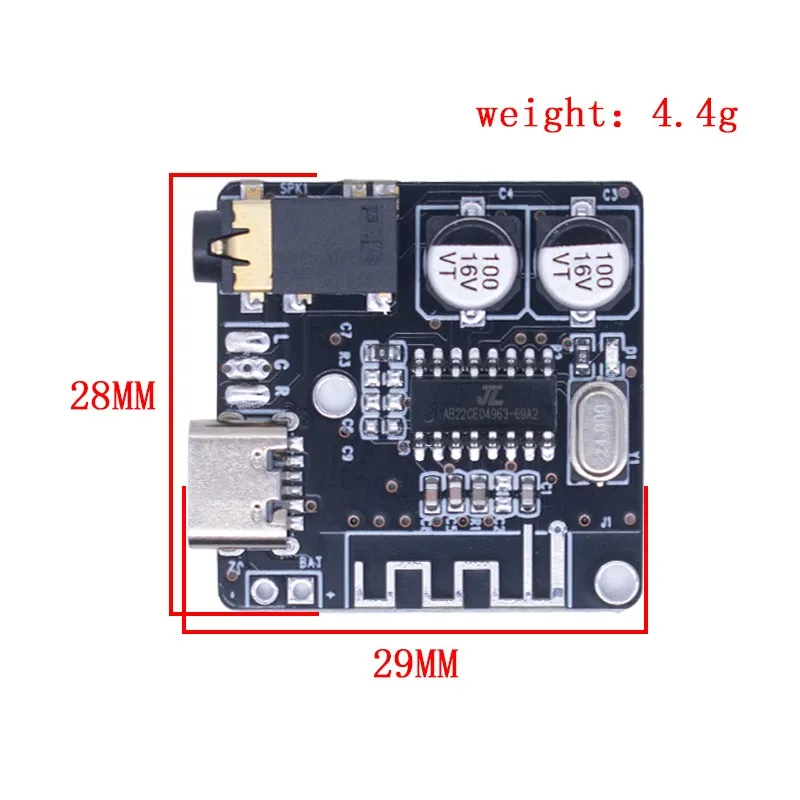
This Bluetooth audio module is a pure audio receiving module, Bluetooth version 4.2 stereo output, with a simple built-in Bluetooth antenna structure. The power supply voltage can be either a 3.7V lithium battery or a 5V regulated power supply (with reverse connection protection). It can be used to add Bluetooth functionality to ordinary amplifiers or active speakers. The 7-pin output interface has a 2.54mm pitch through-hole. The 7-pin output interface includes: power, ground, left channel, right channel, mute, LED status indicator, and KEY external button port. For the LED status port, connect an external LED in series with a 100-ohm resistor to ground. When Bluetooth is not connected, the LED flashes rapidly, and when Bluetooth is successfully connected, it flashes slowly.
Product Features
Port Description:
- 5V Power Supply: Connect to the positive terminal of a 5V power supply. The link here shows the 5V version. If you need to change it to 3.7V lithium battery power supply, you can short the two solder pads on the black diode near the 5V pin on the board. After modification, the power supply voltage range is 3.4V-4.5V. Voltage lower than 3.4V or higher than 4.5V may cause malfunction or damage the module.
- GND Ground: Connect to the negative terminal of the power supply. This is also the ground for audio. It is necessary to separate these two ground lines and connect them individually to the power ground and audio ground (solder two wires from the pins).
- L Left Channel: Connect to the left channel input of the amplifier board, or the left channel of headphones. It is recommended to connect a capacitor to this output port (depending on the input matching of the amplifier).
- R Right Channel: Connect to the right channel input of the amplifier board, or the right channel of headphones. It is recommended to connect a capacitor to this output port (depending on the input matched to the amplifier).
- MUTE: High level mutes. If not connected to the amplifier and no external circuitry is connected, it will automatically play when Bluetooth is connected and automatically mute when disconnected. If an external amplifier is needed, this port can be connected to the KEY port. After a Bluetooth connection is successful, it will automatically play; when Bluetooth disconnects, it will automatically mute. If it needs to be connected to the amplifier control port, a transistor control must be added, otherwise it may damage the Bluetooth module.
- LED Status Indicator: When Bluetooth is not connected, the LED flashes quickly; after connection, it flashes slowly. If an external LED status indicator is needed, a 100-ohm resistor can be connected in series with the LED from this port to ground. This port has a 1K resistor internally connected to the power. When Bluetooth is successfully connected, this port outputs a high level and can be used to control a relay, or amplified via a transistor to drive and control the amplifier switch.
- KEY External Button Port: Connect an external self-reset button (closed when pressed, open when released) to control the module’s play/pause/previous track/next track. Connection method: pull this port up to the power with a 1K resistor, connect the self-reset button from this port to ground. Short press: play/pause; long press 2 seconds: previous track; long press 3 seconds: next track. If external amplifier control is needed, this port can be connected to the MUTE port. After successful connection, it will automatically play; when Bluetooth disconnects, it will automatically mute. If external amplifier control is required, a transistor control must be added, otherwise it may damage the Bluetooth module.
Typical System Wiring Diagram
Note: From the Bluetooth audio module to the power supply or the audio interface, please use soldering instead of wires with connectors, as high contact resistance can introduce noise.
Bluetooth simplest mode: When the Bluetooth module has a clean power supply, the simplest mode only requires five wires: power +5V, power GND, left and right channels L and R, and audio ground GND. There is no need to connect any external components; it can work normally as soon as it is powered on.
Additional Circuit
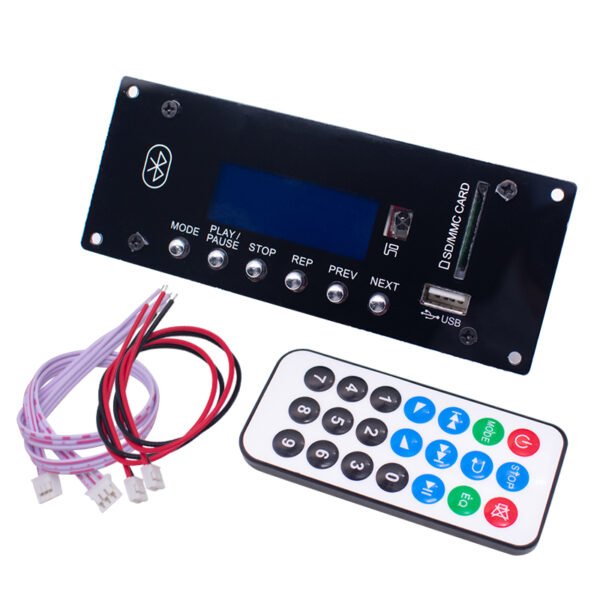
- POWER: Soft power switch button, powers on by default when powered. Pressing this switch will turn off the device immediately; pressing it again will turn it on.
- PRE/VOL-: Short press for the previous track, long press to decrease the volume.
- NEXT/VOL+: Short press for the next track, long press to increase the volume.
- FM: Toggle switch. Short press to switch between Bluetooth playback, USB playback, and radio playback; long press to automatically search for FM stations.
- USB external U-disk playback interface: The USB interface can be connected externally through a wire to a USB female socket, into which a USB U-disk can be inserted to enable U-disk playback.
USB Port Definition
V-BUS: Connect to 5V power supply
D-: DATA-(Data-)
D+: DATA+(Data+)
GND: Ground
FM Radio Antenna Interface
A 0.8-1.5m wire can be soldered as an antenna or a dedicated FM antenna can be used to receive signals.
For the 5V version of the module, you can short-circuit this black diode to convert it into a 3.7V lithium battery version. The 5V version and 3.7V version share the same PCB, only differing by one diode. Users can modify it by themselves to adapt to different supply voltages.
Instructions for use
Reduce power harmonic interference. Especially when using switching power supplies like mobile phone chargers, the power ripple may cause the Bluetooth to not connect properly. Moreover, this type of 5V output is often between 5.1V-5.4V, which exceeds the operating voltage of the Bluetooth audio module.
When using a mobile phone adapter or other switched power supply, the inductor in this power supply circuit can be omitted.
C1 should be greater than 10uF, it is recommended to be above 100uF.
D1 can use 4148 or other common diodes.
L1 can be connected or not connected, the inductance is 10uF-100uF.
Grounding: Since audio signals are quite sensitive to interference caused by the ground, you can solder two ground pins on the output pins of the Bluetooth module—one connected to the negative terminal of the power supply (GND), and the other connected to the audio input ground of the amplifier board. It is best to solder them directly onto the circuit board rather than using wires (which are prone to noise).